How to Compost Coffee Grounds and Cardboard at Home
Every week, most households bin two things a compost heap would gladly take: the spent coffee from the cafetière or machine, and the cardboard that arrives with the online shop. Neither is hard to compost, but they behave very differently from one another, and getting the balance wrong is how bins end up smelling sour, attracting fruit flies or sitting cold and unchanged for months. Treat coffee grounds and cardboard as a pair, though, and they do much of the work for you.
Why These Two Ingredients Suit Each Other
Coffee grounds are damp, dense and rich in nitrogen. Cardboard is dry, light and made almost entirely of carbon, which makes it a bulking agent as much as a food source. Put them together and you get the two things a compost pile needs most: moisture and structure.
The coffee's dampness soaks into the cardboard, and the cardboard's fluted, fluffy texture keeps air moving through the heap. Air is the detail home composters forget. Without it you get a slimy, anaerobic mess rather than crumbly compost, and no amount of turning will rescue a bin that has been sealed shut by a solid layer of wet grounds.
Coffee Grounds Are a Green, Not a Brown
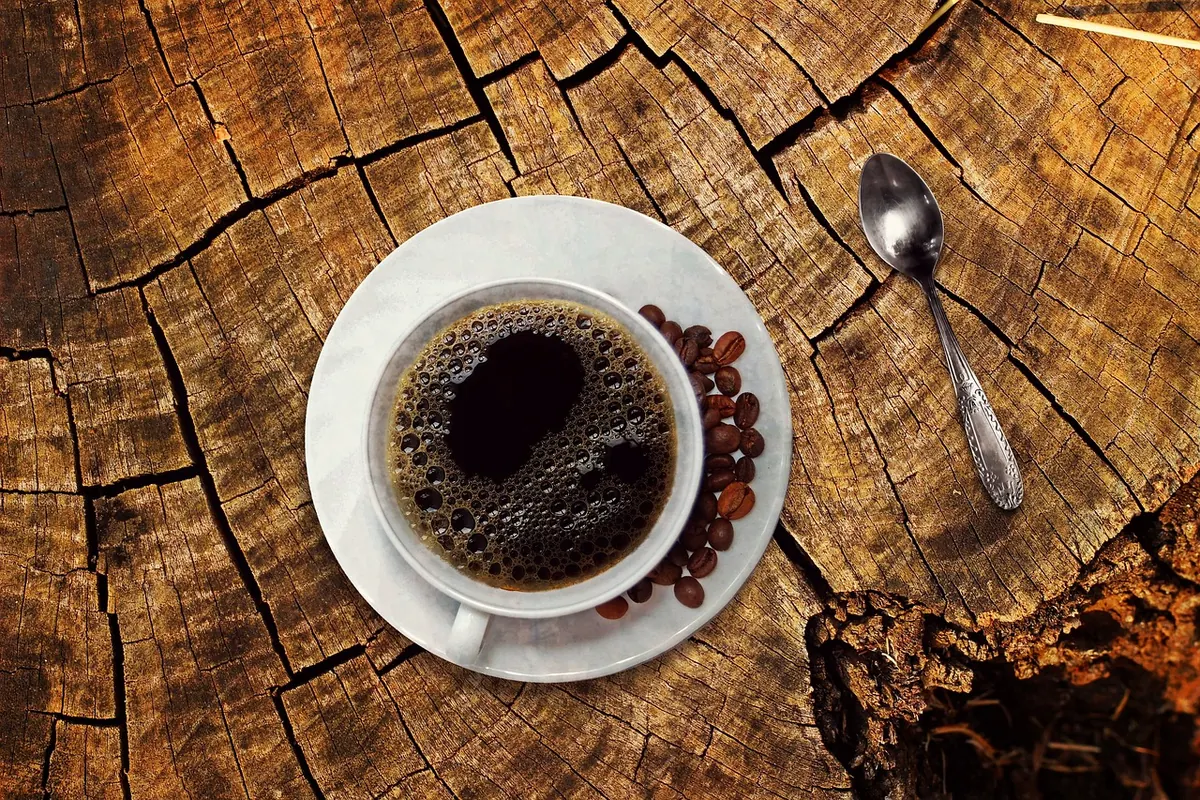
Despite the colour, spent grounds count as a "green" — a nitrogen source, like grass clippings and vegetable peelings. Plenty of people assume dark means carbon and add them as though they were a brown, then wonder why the bin is wet and compacted a fortnight later.
Fresh grounds can go straight into the bin. There is no need to rinse or dry them, though it helps to break up the dense, doughy lumps with a fork rather than tipping in one solid block. In a wormery, coffee grounds are excellent food, but keep them buried under damp shredded cardboard to discourage flies.
Quantity is where households differ. A couple of espresso pucks or one cafetière a day is nothing for a decent-sized bin. A weekly bucketful from a workplace or café is a different matter: that much nitrogen needs an equal or larger volume of cardboard, shredded paper or autumn leaves to balance it.
Cardboard: Free Bulk and Free Air
Almost any plain cardboard is welcome: delivery boxes, cereal packets, egg boxes, toilet roll tubes. Leave out the glossy printed card, laminated or waxed boxes, and anything carrying heavy plastic tape, staples or polystyrene inserts. Tape does not break down, and you will still be picking it out of finished compost a year later.
Greasy pizza boxes are the usual question. A clean lid is fine; heavily stained, greasy card is better in the general waste, where it will not slow the heap or attract rodents.
Preparing cardboard properly
- Strip off tape, staples, labels, plastic windows and any polystyrene packing.
- Tear or shred into pieces roughly palm-sized or smaller. Large flat sheets act as a lid and seal in moisture instead of mixing.
- Tear corrugated card along the channels — it comes apart far more easily that way.
- Soak dry card in a bucket for a few minutes, then squeeze it out like a wrung-out sponge. Bone-dry cardboard will suck the moisture out of your pile and stall it.
- Add it in thin layers rather than one thick slab, so air can still reach the middle.
Getting the Ratio Right
Aim for roughly two to three parts browns to one part greens, measured by volume rather than weight. Browns are cardboard, paper, woodchip, straw and dead leaves. Greens are coffee grounds, tea leaves, kitchen peelings, grass clippings and spent plants.
Rather than weighing anything, work to a rhythm you can repeat on autopilot:
- Start with a layer of torn cardboard about 10cm deep, plus a few twiggy stems at the base if the bin sits on soil.
- Add a 5cm layer of greens, coffee grounds included.
- Cover with 10cm of soaked, torn cardboard. The greens should never be visible.
- Repeat until the bin is full, finishing with cardboard on top.
- Turn the contents with a fork every few weeks, bringing the outside material into the middle.
- Squeeze a handful now and then. It should feel like a wrung-out sponge: if it drips, add cardboard; if it crumbles, add water.
Troubleshooting
- Sour, vinegary smell and slimy texture: too wet, too many greens, not enough air. Mix in torn cardboard, turn the heap, and leave the lid off for a day in dry weather.
- Nothing is happening: the pile is probably too dry and too carbon-heavy. Water it, add coffee grounds or other greens, and chop anything large.
- Fruit flies: usually uncovered kitchen scraps. Bury them in the middle, top with at least 5cm of cardboard, and keep the lid on. Avoid cooked food, meat and dairy in a cool domestic bin.
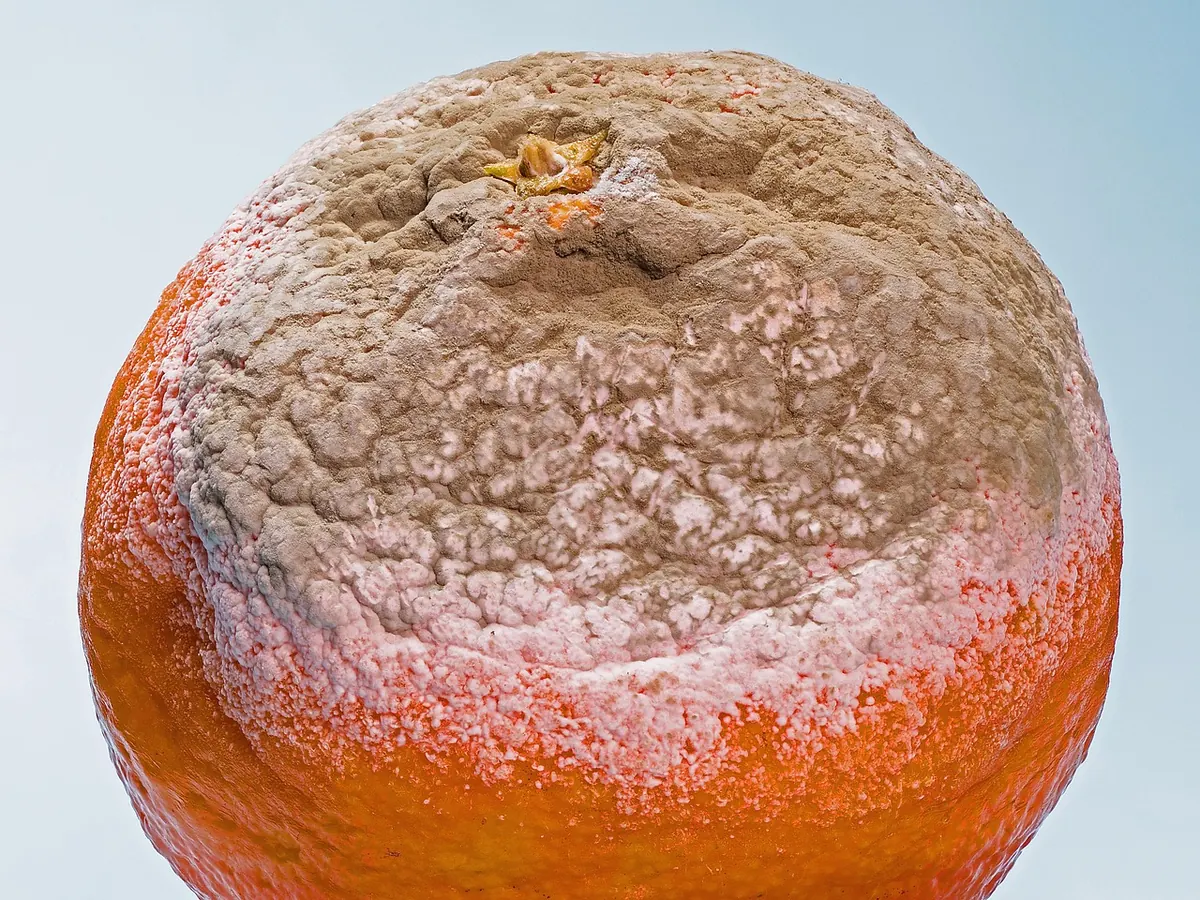
- White mould on the surface: normal fungal activity. Only worry if it turns black and slimy, which points back to a wet, airless heap.
- Cardboard still intact after months: the pieces are too big and too dry. Shred smaller, soak, and mix through rather than layering on top.
Start Small and Adjust
Keep a lidded caddy by the kettle for grounds and a flattened stack of boxes beside the bin, so neither ingredient ends up in the kitchen waste. Beyond that, let the heap guide you. Pale and dry means add greens and water; dark, wet and whiffy means add cardboard. Depending on the bin, the weather and how often you turn it, expect usable compost in anywhere from three months to a year — and remember that a cold, slow heap still gets there eventually.
Photo: cocoparisienne / Pixabay
Troubleshooting a Smelly Compost Bin: 5 Common Causes and Fixes
A smelly compost bin usually comes down to too little air, too much water or too many greens. Here's how...
Beginner's Guide to Companion Planting in a UK Vegetable Patch
A practical UK guide to companion planting: which pairings genuinely help with pests and pollination, what...
About Us